
This article will help with how to set a custom date range for all of the charts and tables on your dashboard
To set a custom date range for your dashboard, you will want to open the your dashboard and click the calendar icon in the top right of your screen. Next click in a beginning and end date and click Apply. There are presets for your range or your can choose a Custom date. Click Apply again. Now all your charts and tables will reflect your date range
See screenshots of this process below
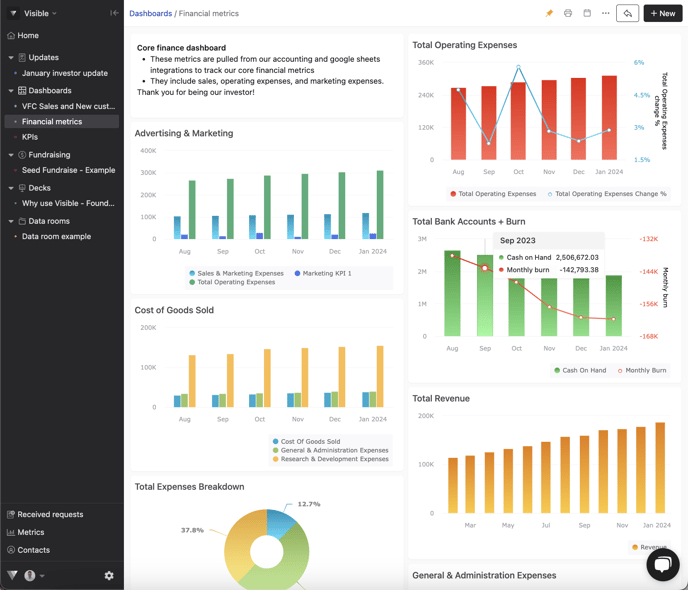
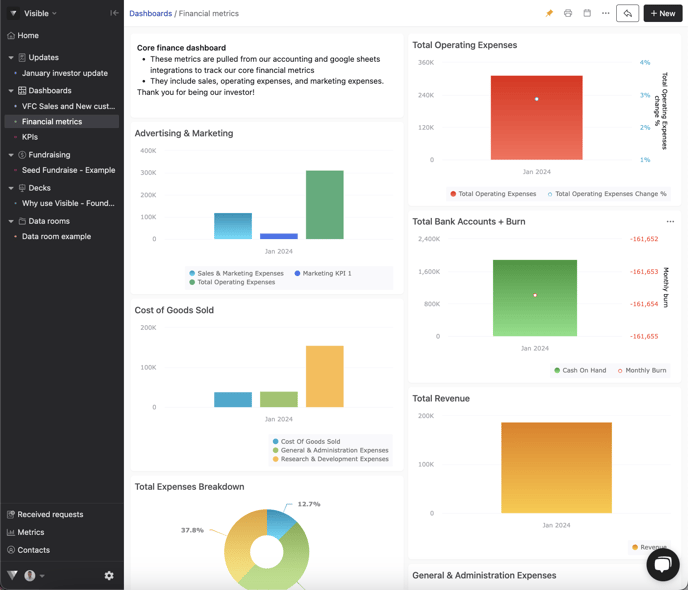
Open your dashboard
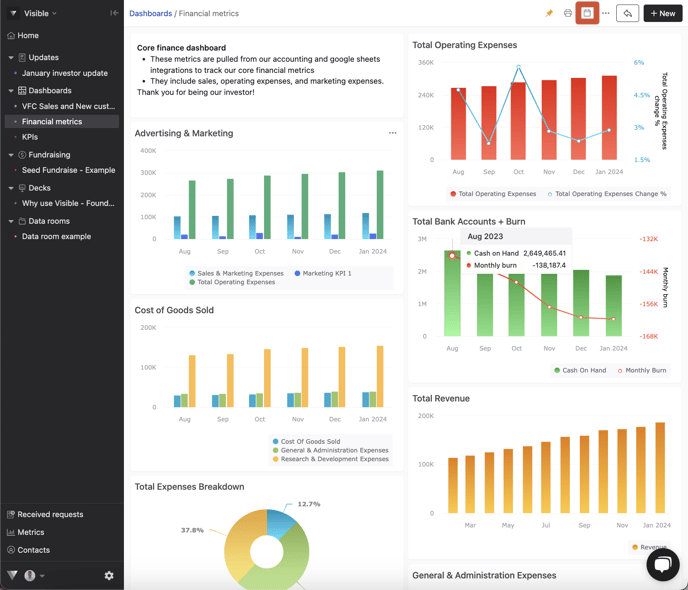
Click the calendar icon in the top right
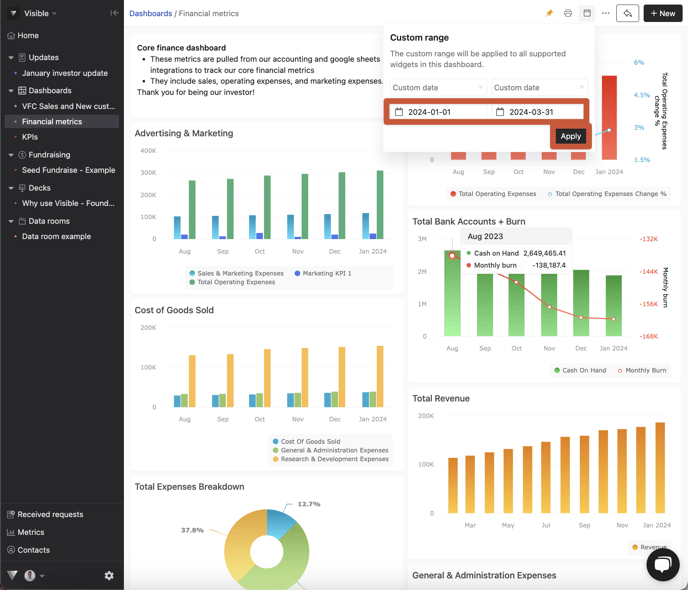
Choose a beginning and end date and click Apply
Click Apply again
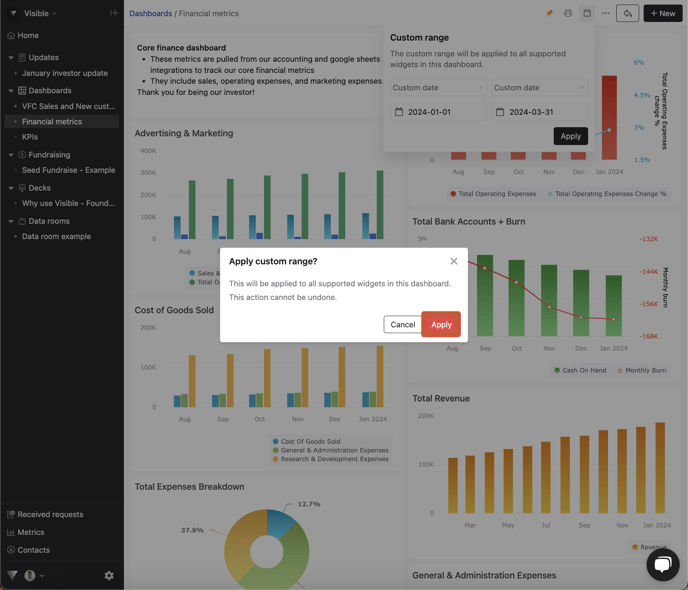
Your dashboard will then reflect your chosen date range.
Let us know if you have any questions. Our team would be happy help.