
Learn best practices for setting up and getting started with Zapier + Visible
Using Zapier + Visible, allows you to tap into the thousands of Zapier apps to bring data points into Visible.
To get started you'll first want to make sure you have metrics created in Visible that would like to push data to from Visible (Note: For a metric to work with Zapier's API the frequency must be set as "Daily"). Reference this article if you need some help creating metrics for your charts.
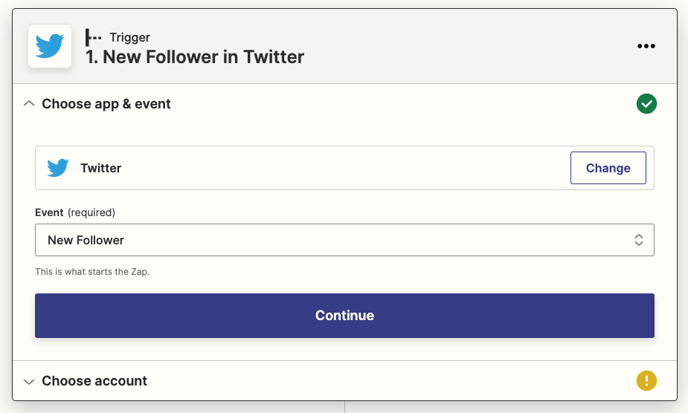
Next you'll want to head over and sign into your Zapier account & create a new zap. For this example, I want to create a metric tracking New Followers from Twitter.
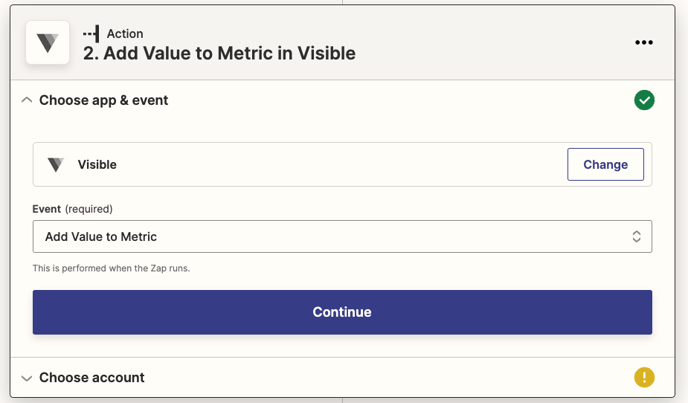
Next, select Visible as the Action app. Our current action is to either Add Value to Metric or Create Data Point. For the purpose of this article we will focus on Add Value to Metric.
From here you'll authenticate (we use OAuth so Zapier does not store your Visible login or password) and sign into your Visible. You'll grant Zapier the ability to read and write to metrics in your Visible account.
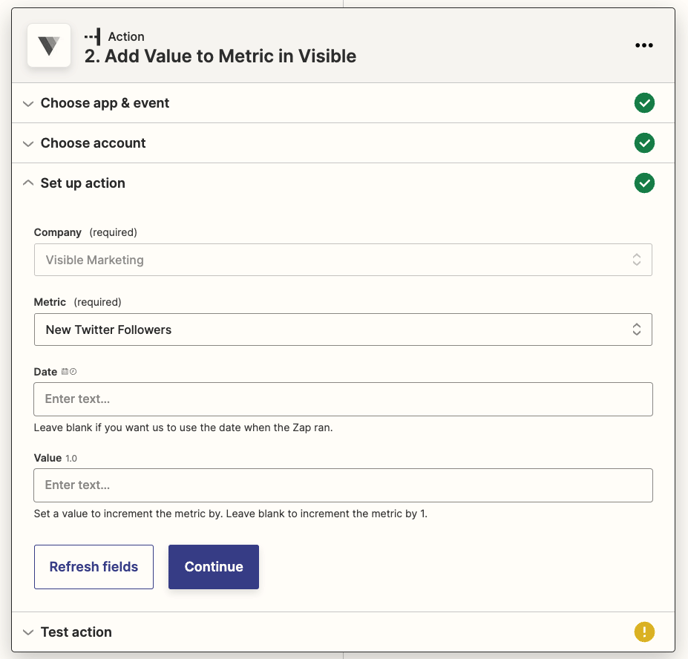
Once you return to Zapier you'll be able to create your template. You will need to select your company in Visible (Visible Marketing is the name for this example) and the metric name (New Twitter Followers) for this example as shown below:
Click Continue, test your Zap, and set it live in Zapier. From here, your metric in Visible will be automatically populated as the trigger takes place.