
This article should help with building out and customizing your fundraising pipeline. Your pipeline will help you with staying organized in your fundraising efforts.
To start with getting your fundraise organized. First, open Visible. Then, start creating your investor contacts individually or upload all of your investor contacts at one time via csv. Once all of your contacts are uploaded you will be able to get started with our fundraising feature.
To create your first fundraising pipeline. First, click Fundraising along the left side of the screen. Next, click + New Pipeline in the top right. You will then name your pipeline and set your target $$ amount you are looking to fundraise. You will then have the default view of a fundraising pipeline.
From here, you can customize your columns and edit your stages to fit your preferences.
From here you will want to add investors to your pipeline. The other way to add investors to your pipeline is through Visible connect. Clicking Add to pipeline into any investor on connect will allow you to add them directly into your pipeline. Once you have your investors uploaded into your funnel, you can update their stages, update the investors fields, connect your contacts, take notes, check in on investor activity, and progressing to the point where investors trust you with their capital!
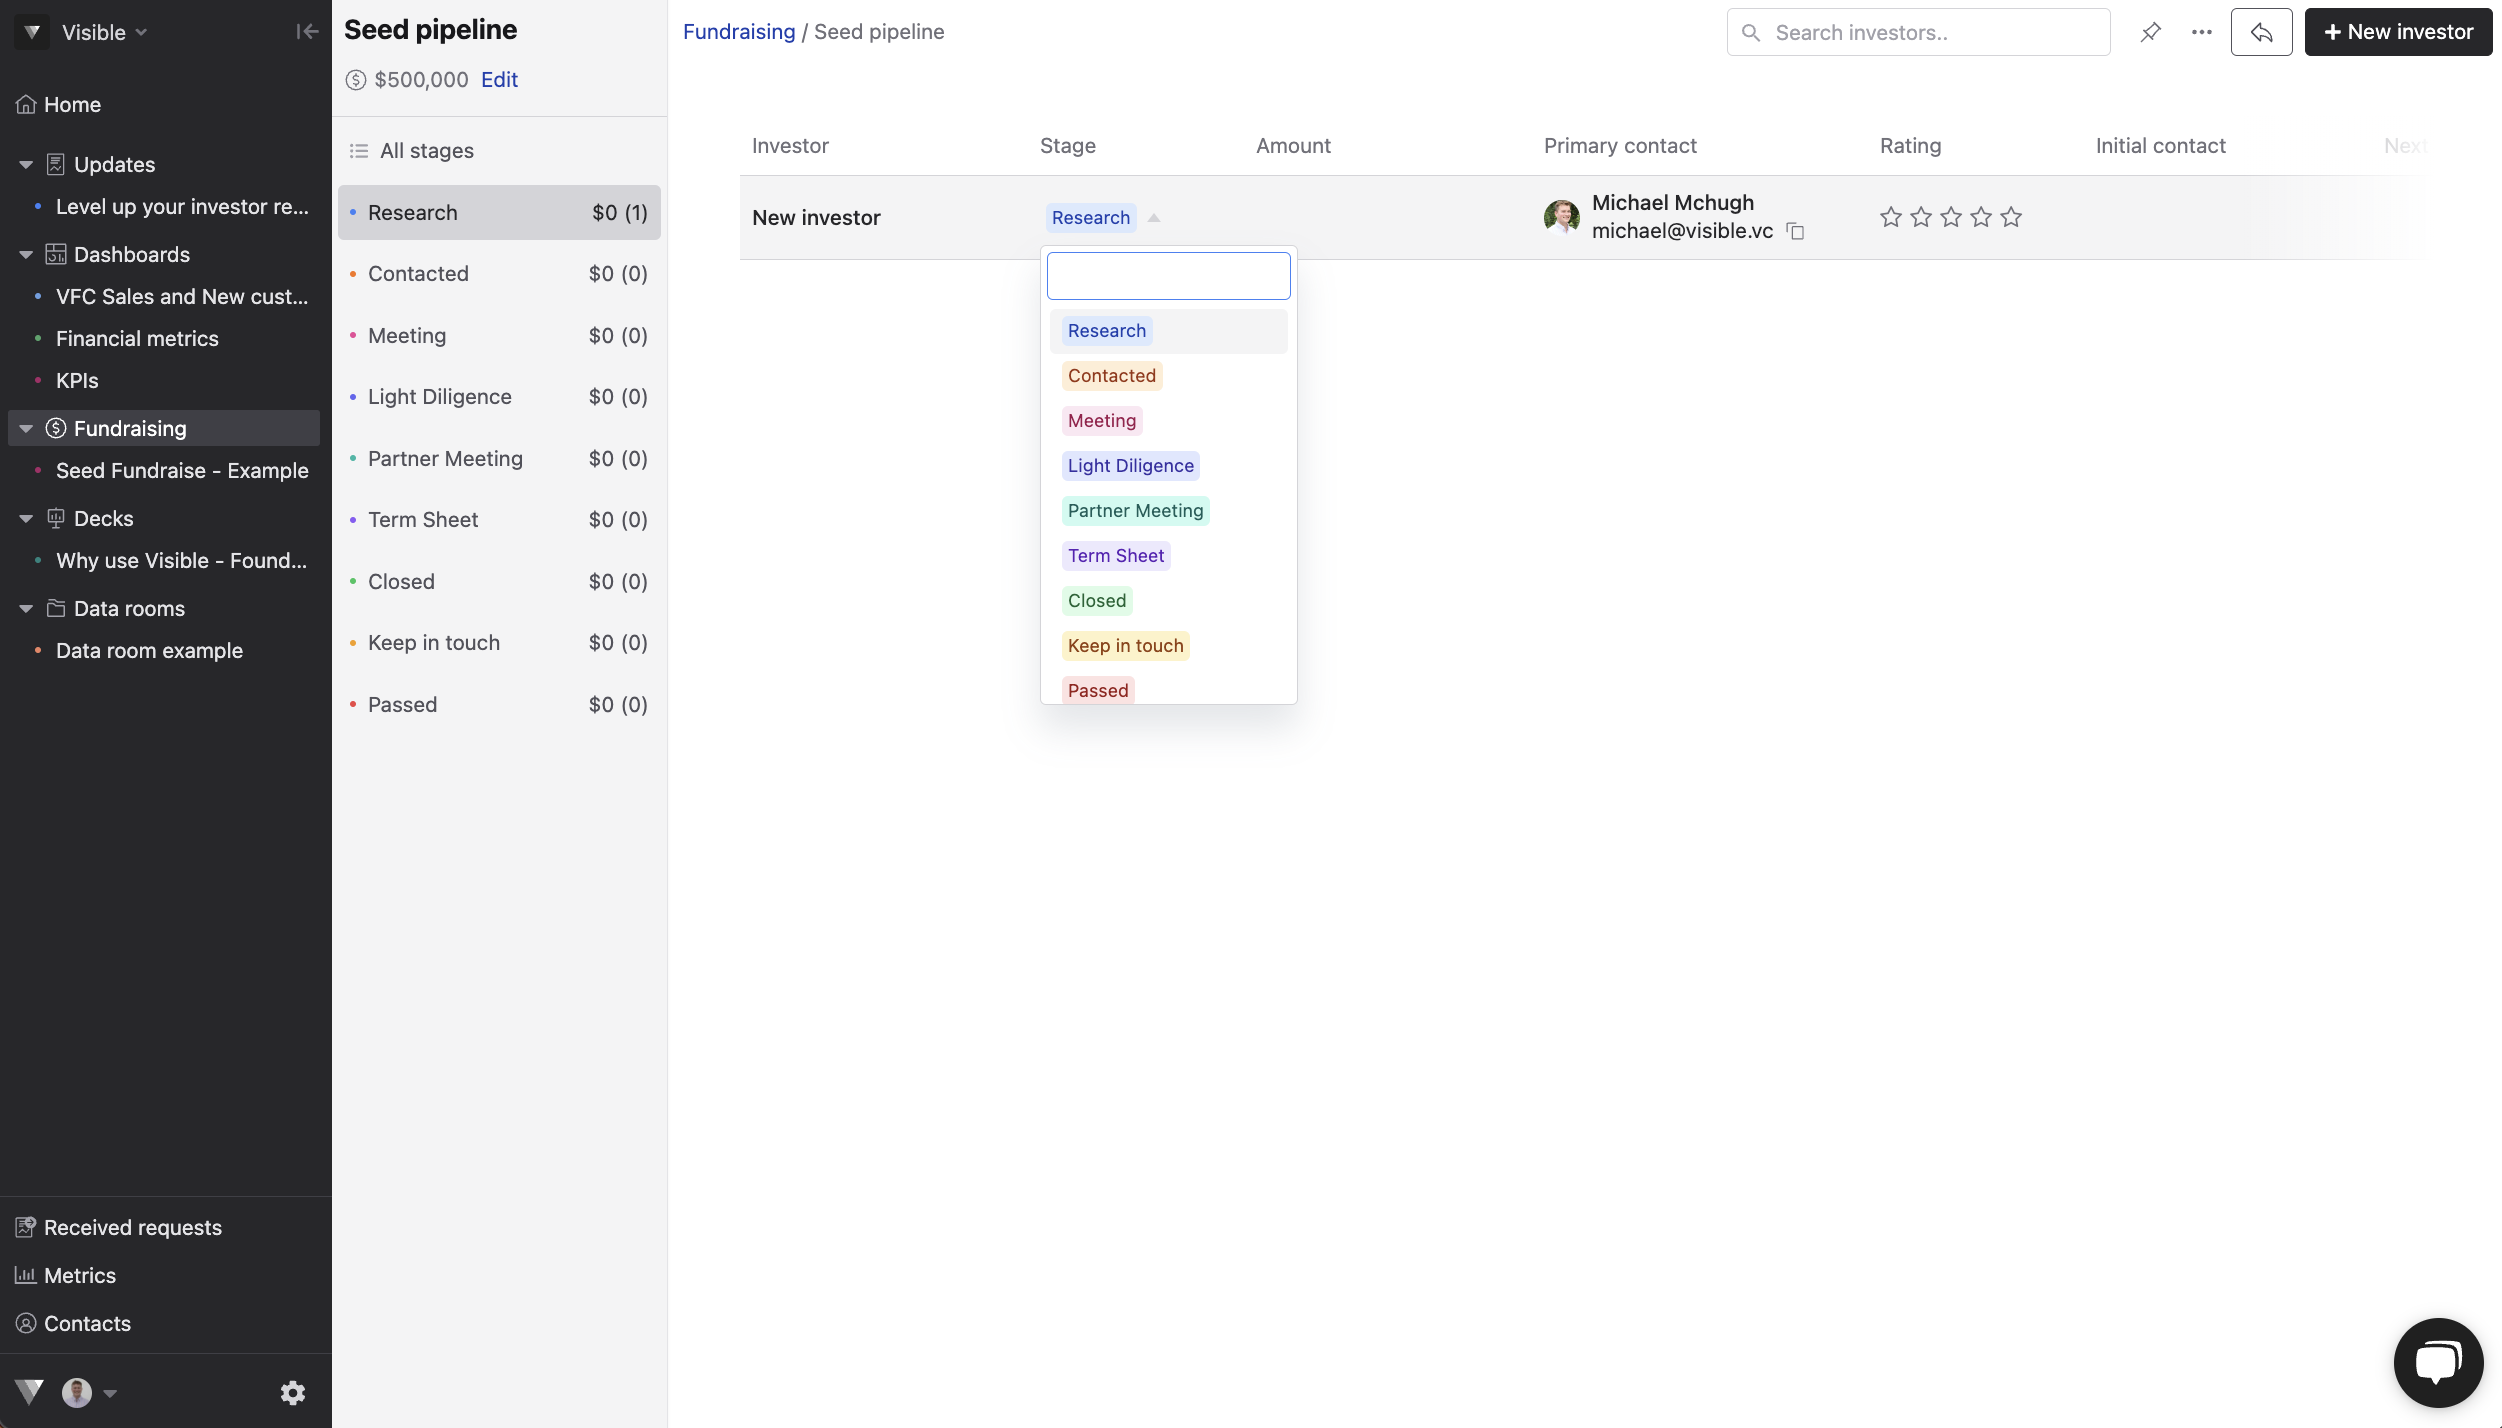
From here, you should stay consistent with moving investors through the qualifying stages and making sure they are correctly labeled.
Find the links to the resources above organized below:
Find screenshots of setting up a fundraise below
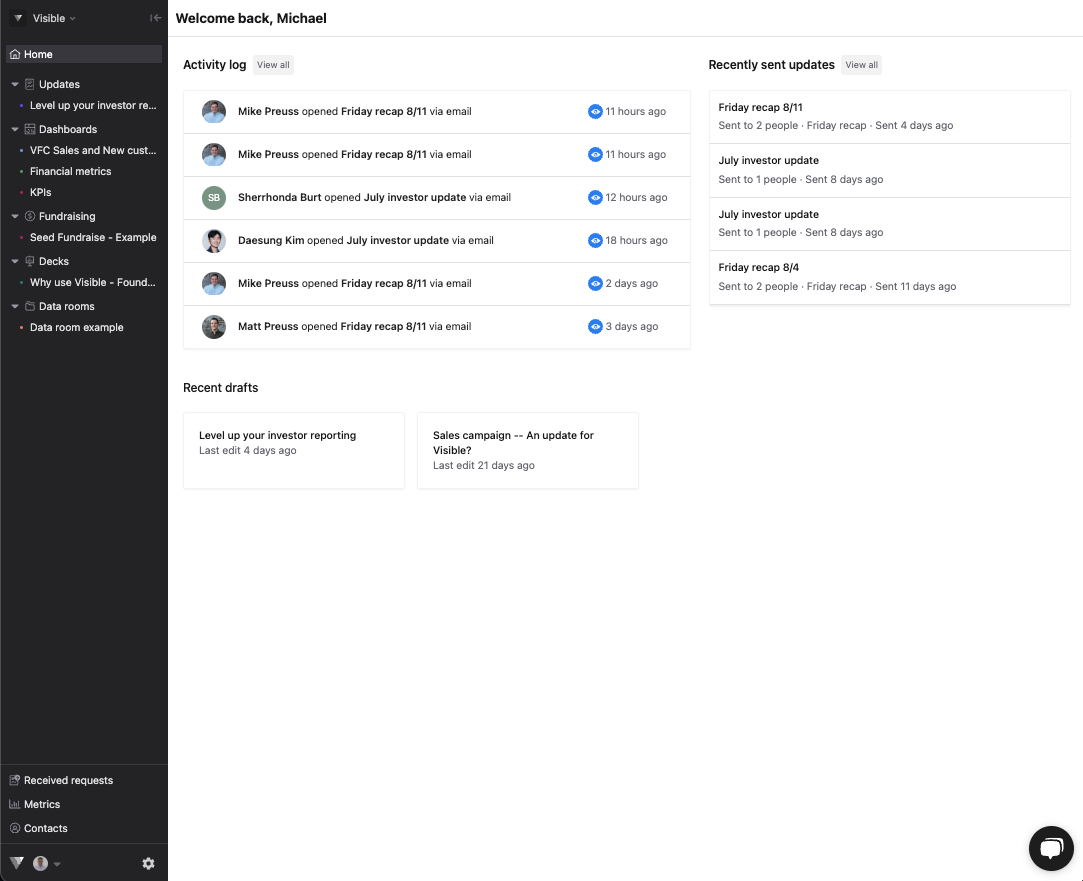
Open Visible
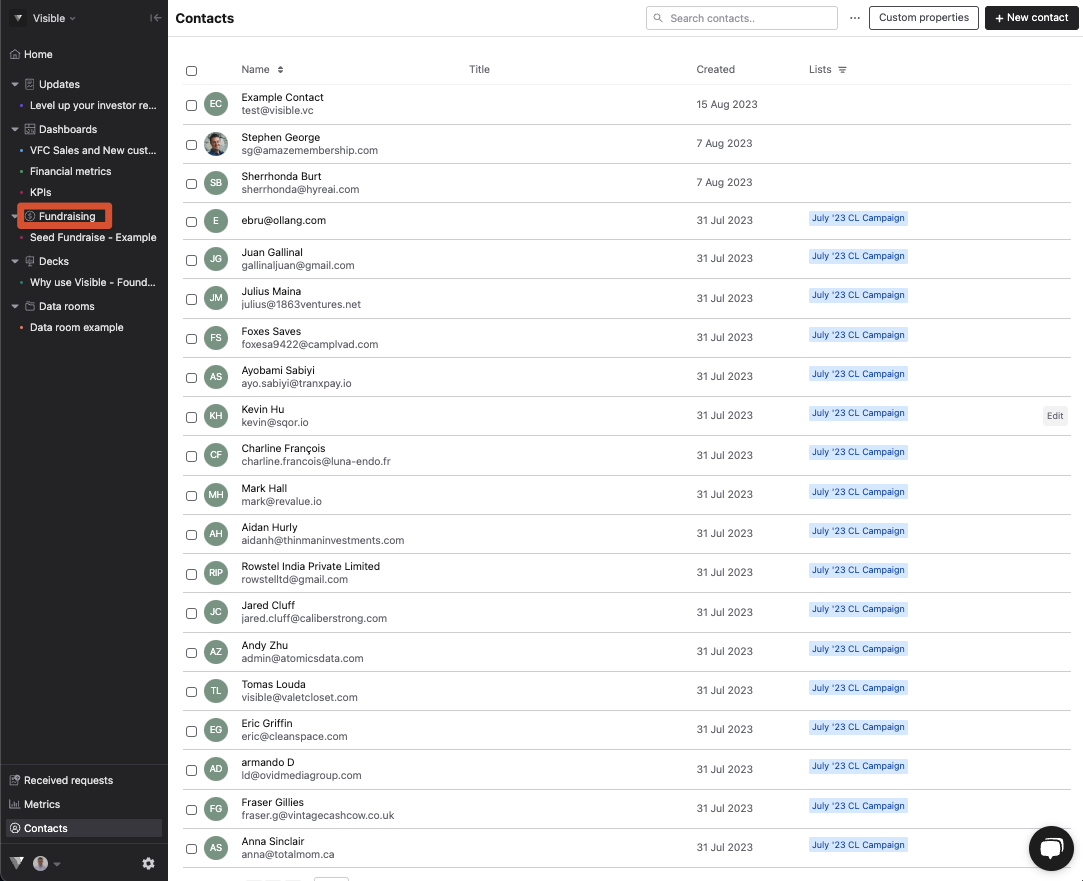
Click on Contacts in bottom left

Click New contact in the top right

Enter contact information and click Create contact

Next, click on Fundraising along the left side of the screen
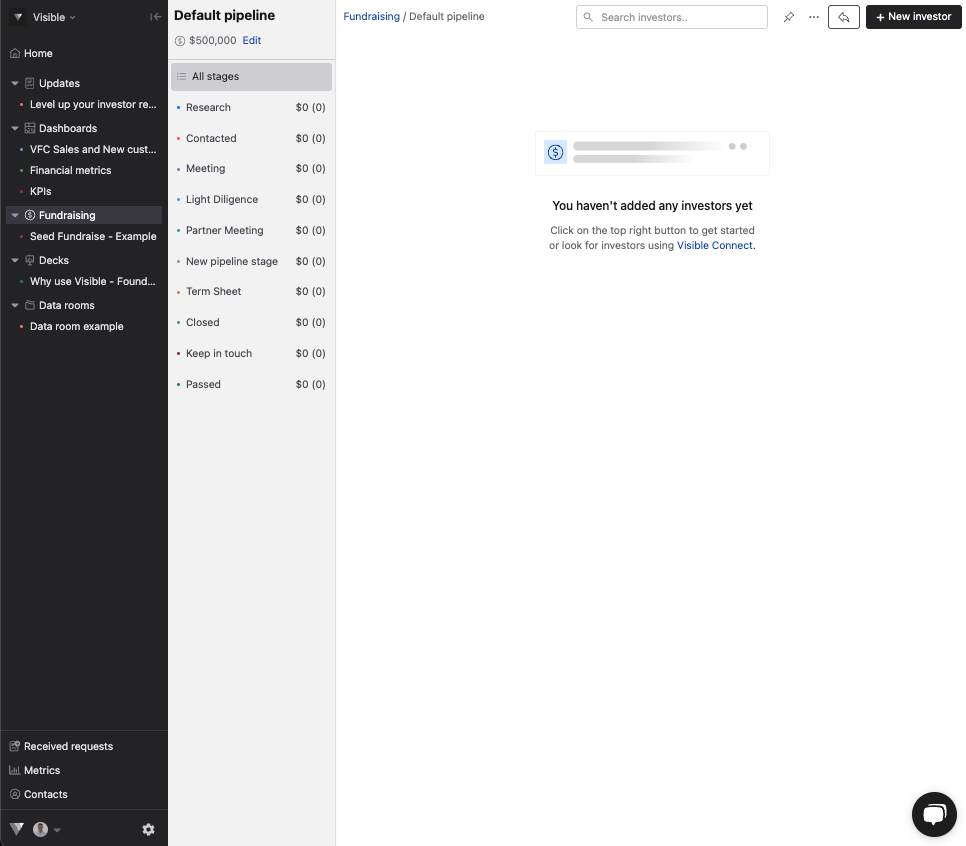
Click + New pipeline in the top right

Name your pipeline, set target $$ raise amount, and click Save

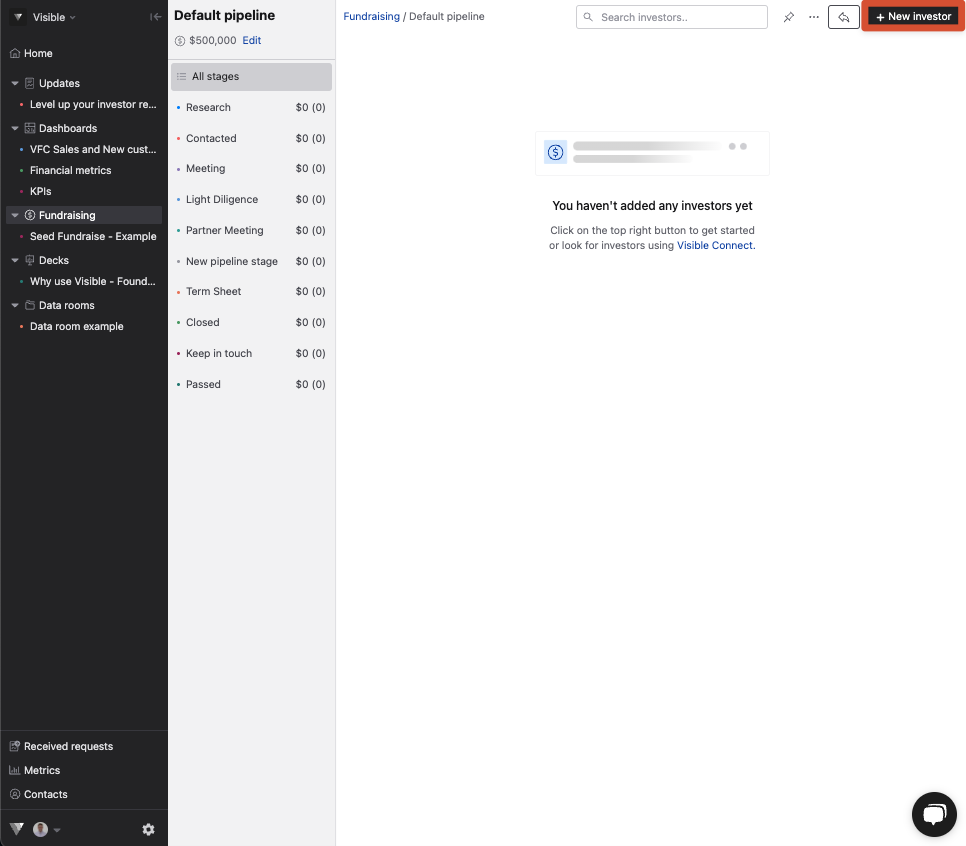
See default view of your Fundraising pipeline
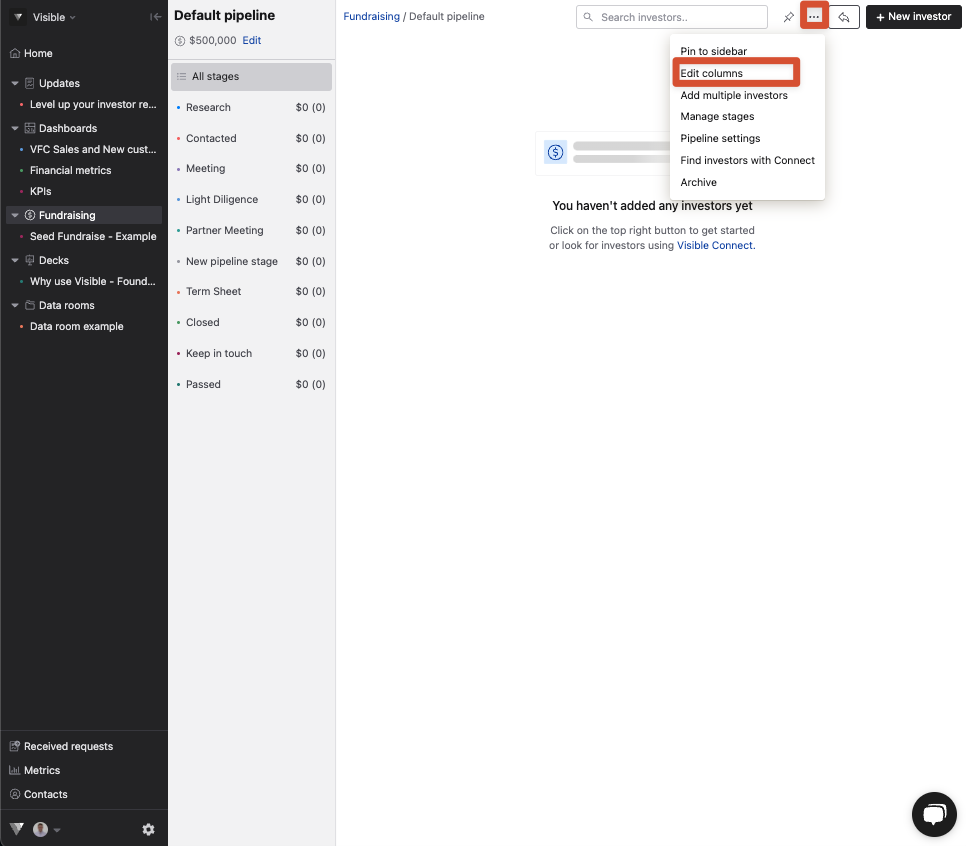
Click the three horizontal dots along the top of your screen
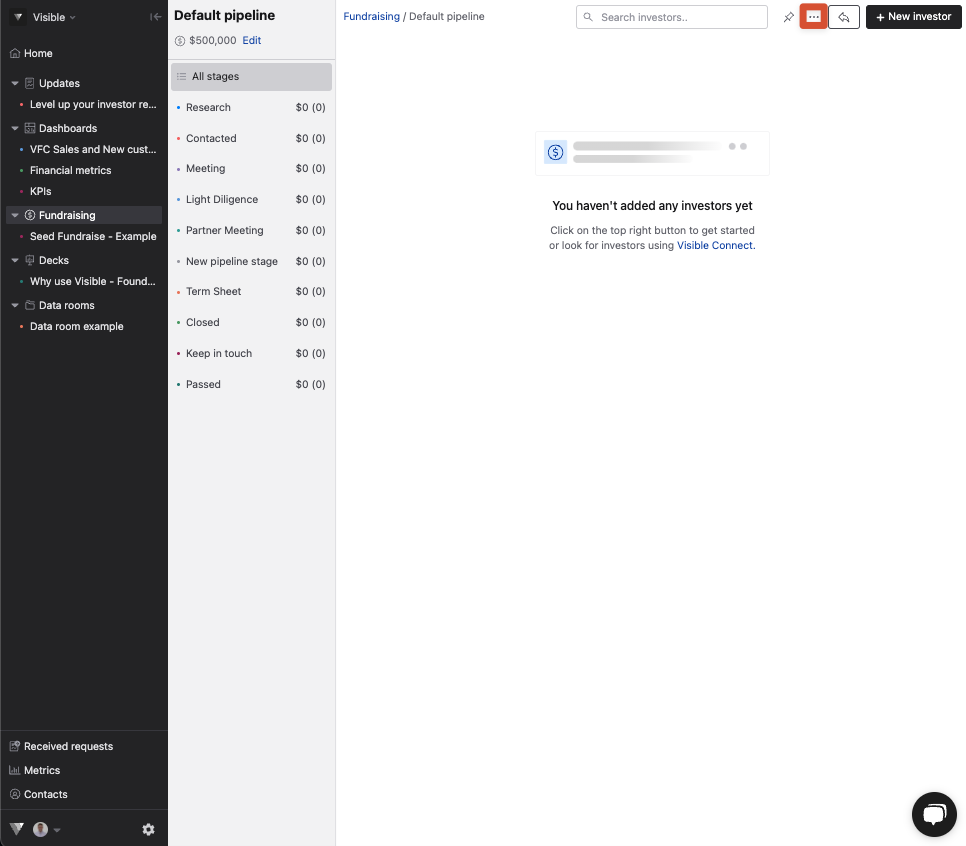
Click Edit columns
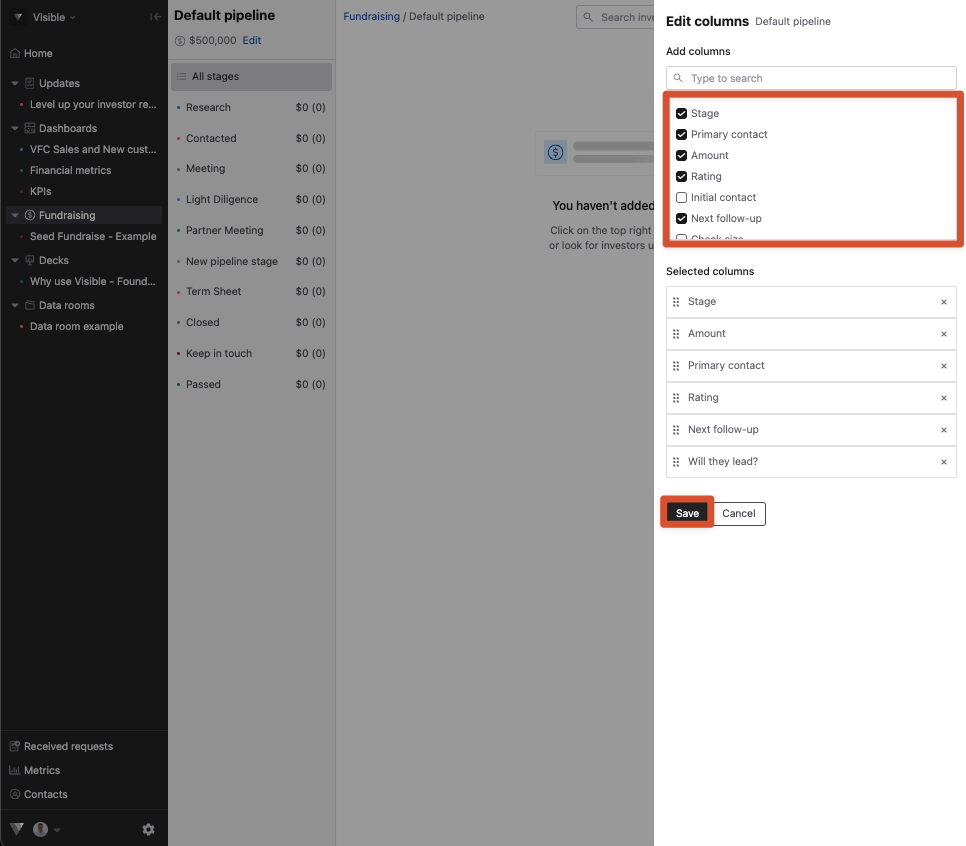
Select your fundraising columns you would like displayed and click Save
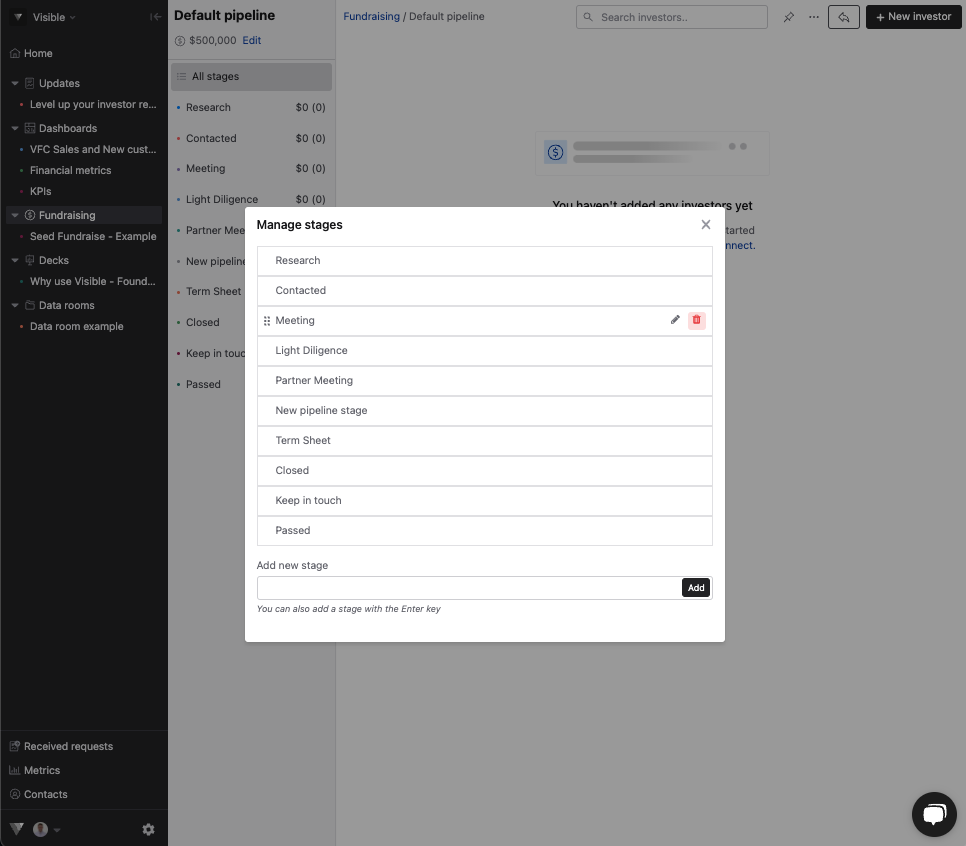
Navigate back to the three horizontal dots. Click Manage stages

Add, edit, or delete stages you want to change
Click + New Investor in the top right
Enter investor name and other fields. Anything you add will autosave
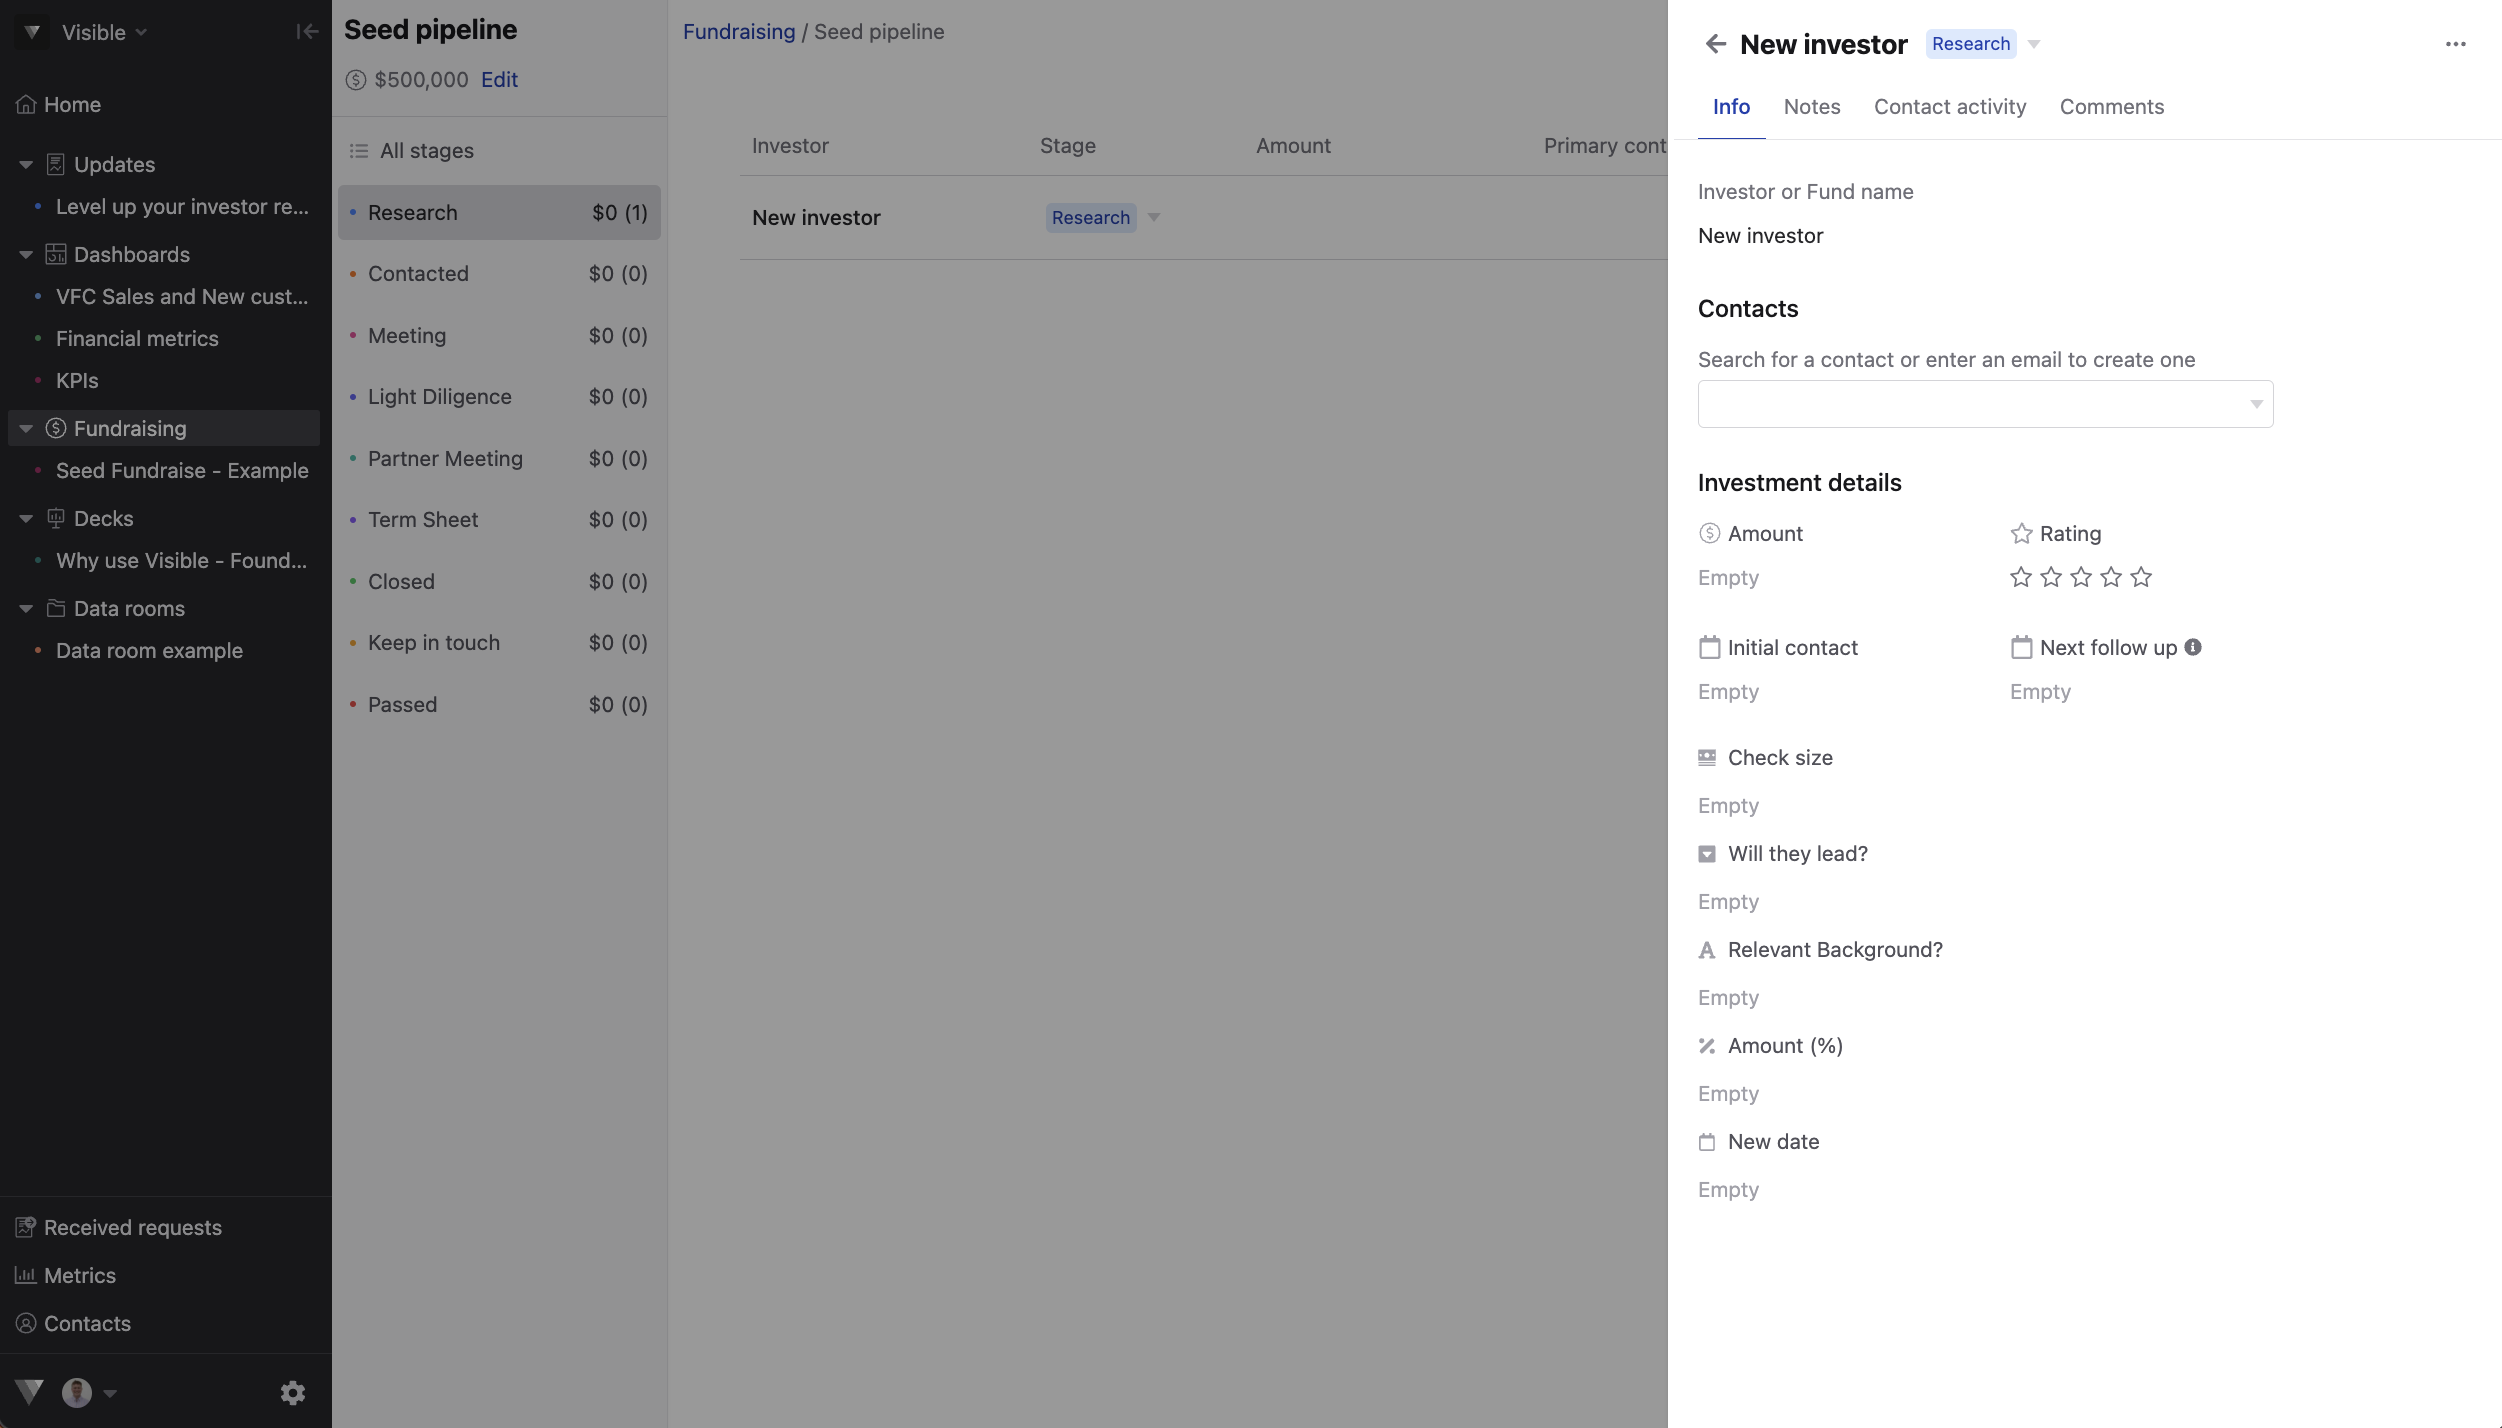
Connecting a contact will populate activity under Contact activity

From here, properly qualify your investor contacts and keep things organized!
This can be a process but worth the energy to input all your information and keep things organized.
Please reach out to our team if you have any questions!